
While I was working on this post an interesting video about container security in general came out. You can see it HERE. He does a better job than I do explaining containers in general, so give it a watch and then come back here if you are feeling daring.
Getting the Docker images and configs#
Now that we (hopefully) have the basic containerlab setup finished, we can try adding the containers I’ll be using. Or at least the ones I know so far. To be clear I am not going to commit containers you can pull directly from their upstream providers or any containers that require you to sign in somehwere to get them (like Sonic), I’ll just point you in the right direction and hope you can figure it out yourself. If you are stuck, hit the comments down below and I’ll try to see where I went wrong.
I suggest you make a directory somewhere that we can do all this work in. ~/projects sounds like a cool name, but you pick what works for you. Once you have the directory, cd into it and we’ll clone the repository that has a couple docker build files and some container lab configs.
mkdir ~/projects
cd ~/projects
git clone https://github.com/CacophonyOfFailure/containerlab_labs
That shouldn’t take long (at the time of writing anyway, maybe this will turn into a giant mono repo in the future).
Once we have the repo we can start pulling containers. Docker is going to keep all the images in it’s own special place for you, (should be in /var/lib/docker/ but YMMV) so don’t be surprised when they don’t show up in the CWD.
#This container gives us a WebUI for ContainerLab
docker pull ghcr.io/srl-labs/containerlab-web:latest

#This is the containerlab api container.
#It felt safer than installing it on bare metal (but only slightly)
docker pull ghcr.io/srl-labs/clab-api-server/clab-api-server:latest

#This is the Free Range Router container that has been optimized for containerlab:
docker pull quay.io/frrouting/frr:containerlab-10.7.1

#This container is described by the author as an EDC for network troubleshooting. It has ping and nginx, so that's enough for me for round 1.
docker pull wbitt/network-multitool
Those are the containers we will be using as-is for the first deployment.
Tying it all together#
Woo! Now we’re going to launch some stuff. First thing we need to do is get the containerlab api container up and running. Go to wherever you cloned my github repo (I suggested ~/projects in case you forgot already) and then cd into the repo.
cd ~/projects/containerlab_labs

#set our umask to only allow our user to be able to read the .env file we create in the next line
umask 077

#create a random JWT token in a .env file for the lab.
printf 'JWT_SECRET=%s\n' "$(openssl rand -hex 32)" > .env
Ok, this next bit is going to stand up the containerlab api container and the containerlab webui container. It will only work if you are in the top level directory the git repo that we cloned. This will start a webserver that only runs on localhost. If you want it to be accessible from other machines, look at the .env.example file in the repo and update your .env as appropriate.
This compose file runs privileged containers on your machine AND gets read only access to /etc/passwd, /etc/shadow, /etc/group/, and /etc/gshadow. Don’t run this on your work laptop, or the laptop you do anything other than these labs from. If you run this you are assuming some risks.
docker compose up -d
docker ps #make sure the containers are running.
Everything should eventually settle down and say Created Healthy and/or Started if you see any errors, drop a note below and maybe I can figure it out. Assuming everything looks good, we can connect to the webui on port 3001. It will tell you that the page is not secure, and you shouldn’t open it. That’s because we’re using a self signed SSL certificate, so don’t use your bestest passwords or save anything important here… it’s fine for a lab that we won’t leave running 24/7, and it’s pinned to only listen to connections from the same machine so you can click advanced and proceed anyway or whatever your browser’s sanity check flow is. If everything is running properly you should find a page that looks like this: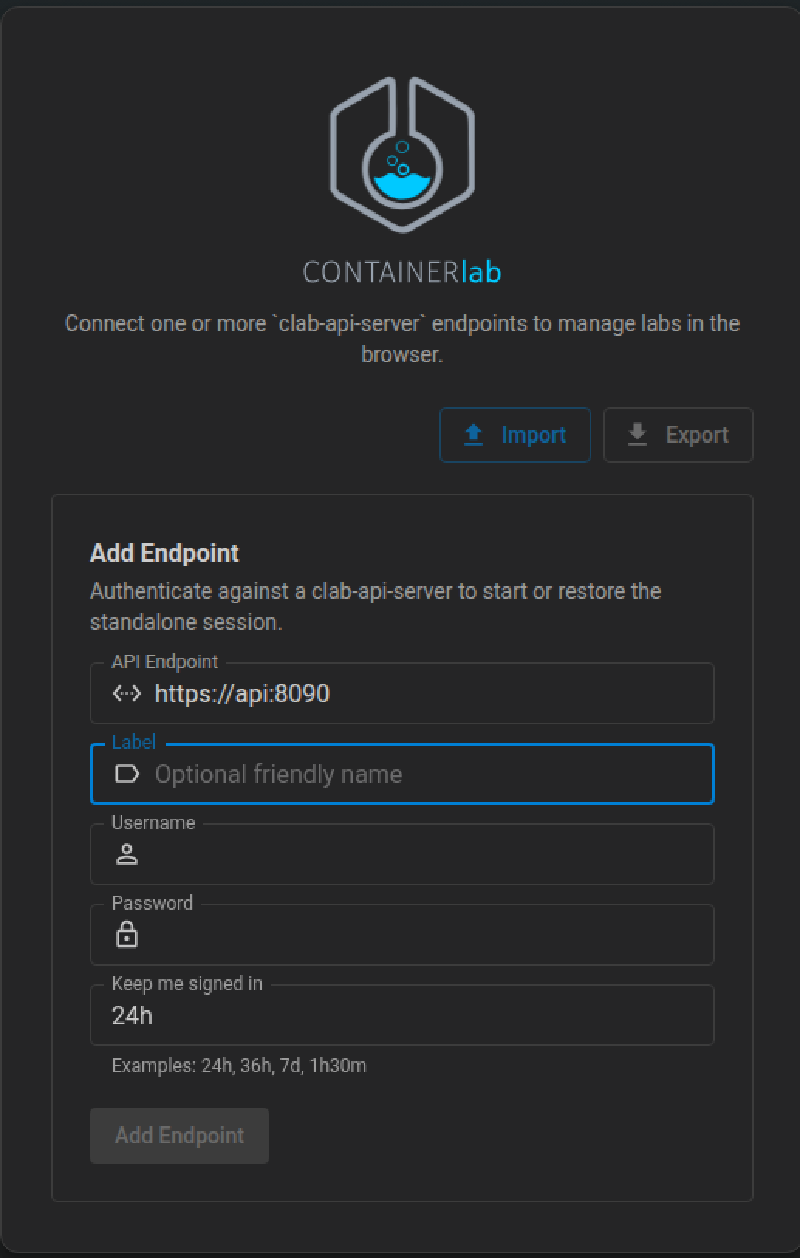
Make sure the API Endpoint is set to https://api:8090 since this is running in a container in docker, it can get to the api container using docker’s internal DNS.
I used CacophonyOfFailureLabs as my label and then entered the same username and password I use to log into the machine that it running the docker containers. This is why we get read access to those files, any users on the machine have access to the UI without needing additional configuration.
If everything worked you should see something like: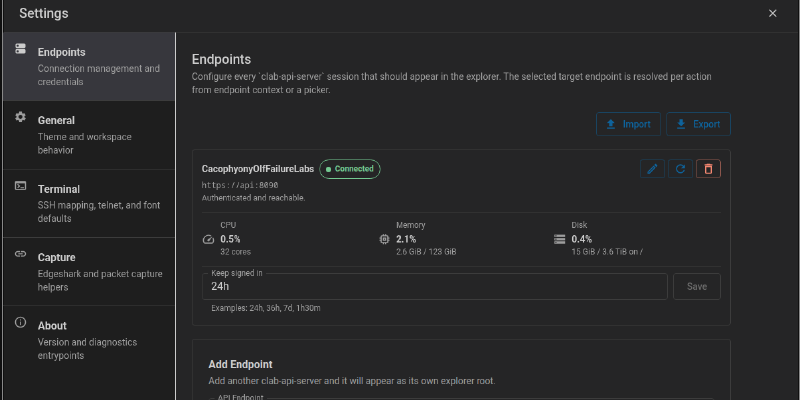
Hit the close button on that settings page and you should see a TopoViewer page that has whatever you named your lab and CONNECTED in the upper left corner of the window. Hopefully something kinda like this: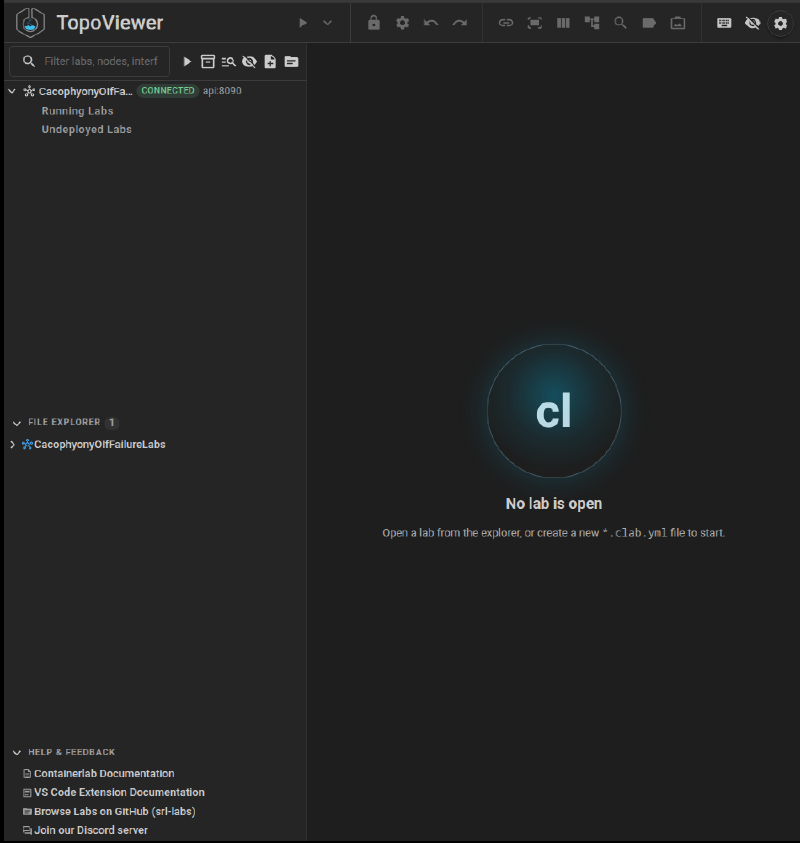
Deploy a tiny lab#
Since you are reading all the way down here, I am guessing everything else has worked, so let’s actually deploy a little tiny lab. There’s probably a way to do this through the webui, but it’s actually pretty fast to just deploy from the cli. You should still be in the top level of the git repo so all you should need to do is:
containerlab deploy -t labs/tinylab/tinylab.clab.ymlThere should be some status text scrolling by and then a little table with 3 rows, all three should be in State running. If you see that then switch over to your browser and look at TopoViewer. You should see an entry under Running Labs that looks something like this: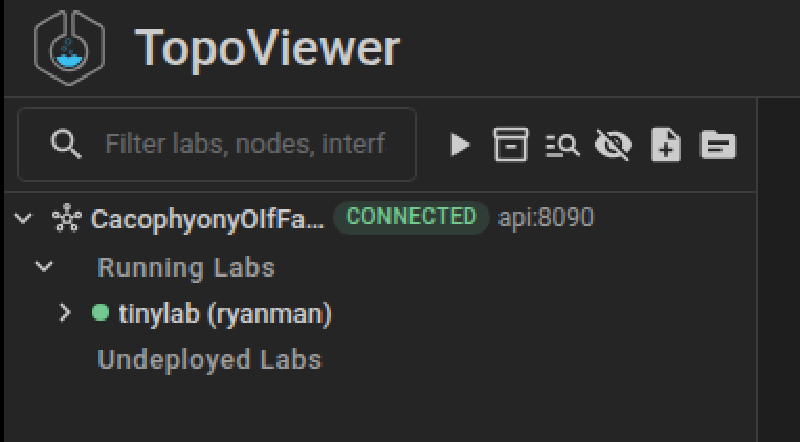
If you click on tinylab the topography view should open and look like this: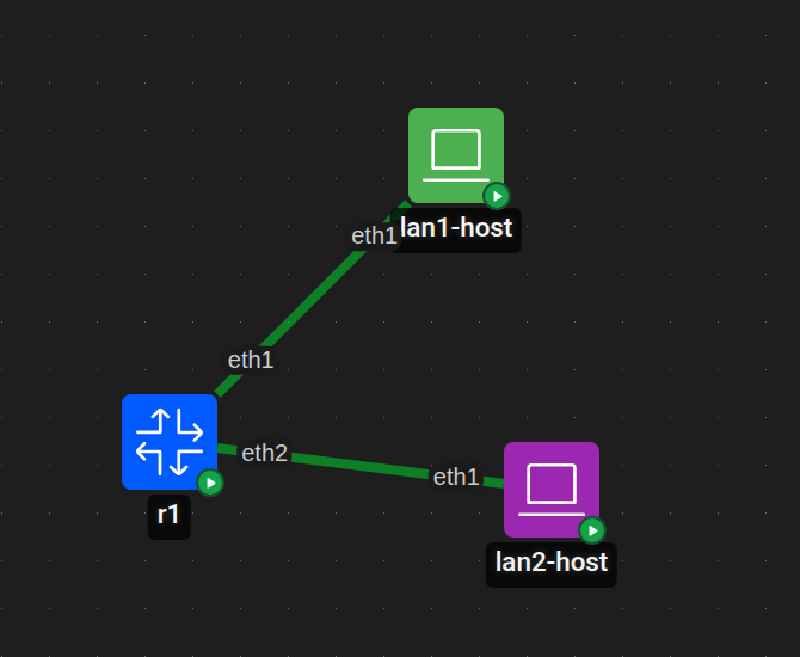
Now if you right click on the lan2-host icon you should see a menu, select Shell and you’ll get shell access to the lan2-host.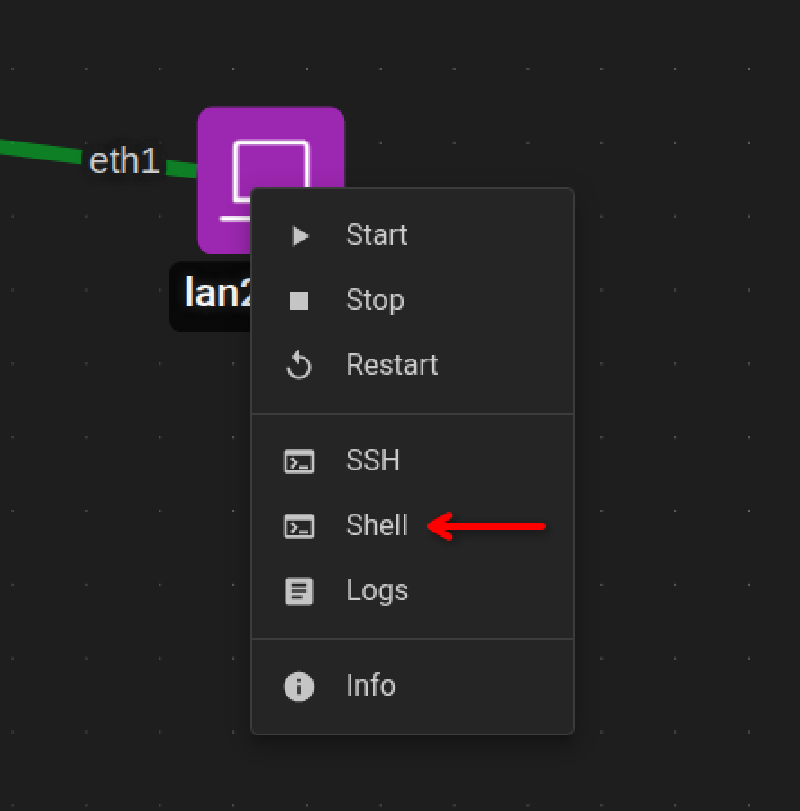
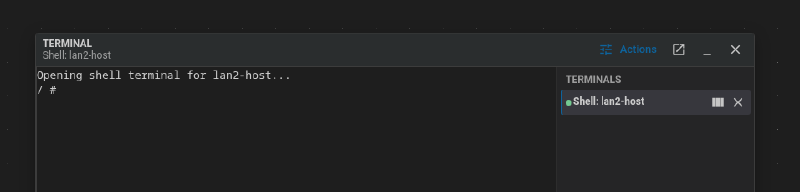
All that’s left to do in this lab is test connectivity, so in the shell window that you just opened run the following commands:
ip addr
ping -c 3 192.168.10.10
The first command tells you what IP addresses are assigned in the container, and if you opened the terminal on lan2-host it should say 192.168.20.10/24 (if it says 192.168.10.10/24, make sure you are in lan2-host).
The second command sends 3 pings to the IP address configured for lan1-host, and you should get 0% packet loss in your result.
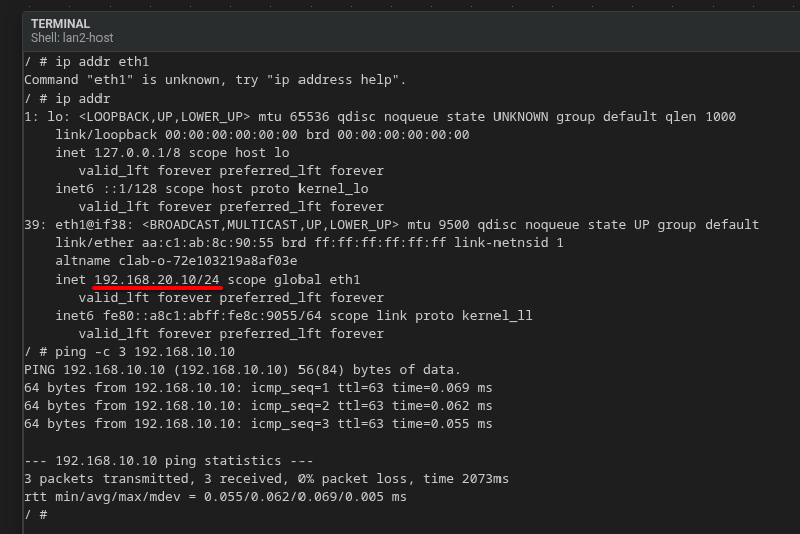
If everything worked, leave a thumbs up in the comments. If you ran into issues, let me know and I’ll see if I can troubleshoot.
You can poke around at the other two containers and see what’s up, but you can’t update any configs from inside the containers since that info is mounted read-only. Once you are done poking, we should clean everything up.
Back in your regular terminal (not the TopoViewer web page) enter:
docker ps #see all the containers that are running
containerlab destroy -t labs/tinylab/tinylab.clab.yml
docker compose down
docker ps #there should be no containers left (unless you had other containers running on this machine that aren't related to the lab)
Hopefully everything worked and cleaned up after itself. Next time we’ll set up wireshark and deploy Edgeshark and start sniffing traffic.
Changelog#
2026-10-05 - Added a lab0 tag and a link to the previous post for easier finding later, and fixed the slug